The last time I touched Play-Doh, Pentium III was cutting edge and the Spice Girls were popular.
My memories of playing with it are kinda fuzzy, but I remember it being simple: a couple of colours, a noodle press, some cookie cutter shapes. Nothing too fancy, and certainly no electronic parts.
So I was pretty amazed when I unboxed two modern, kitchen-themed Play-Doh sets, Shape ‘n Slice and Sizzlin’ Stovetop.
Gone are the days of simple shape cutters; the sets had interesting moulds hidden in clever places like the underside of a plate or on the flip side of a chopping board. There were fancy tools like tongs and mini choppers, and even a battery-operated hob that made sizzling noises.
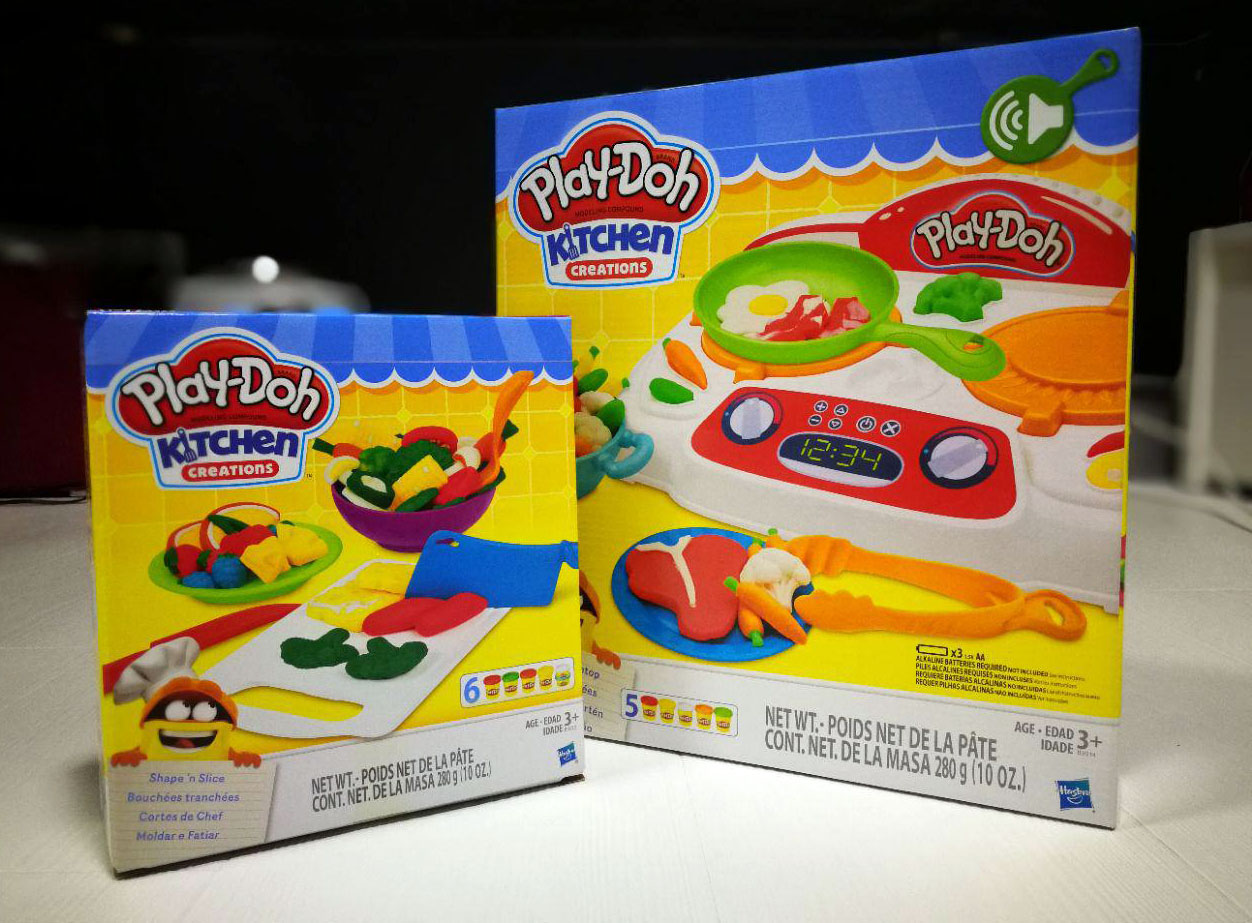
I began my MasterChef journey with Shape ‘n Slice, the smaller of the two sets with 11 accessories and six pots of dough. This set had plenty of tools to shape and handle the putty, including a noodle press, two knives and a pair of scissors.

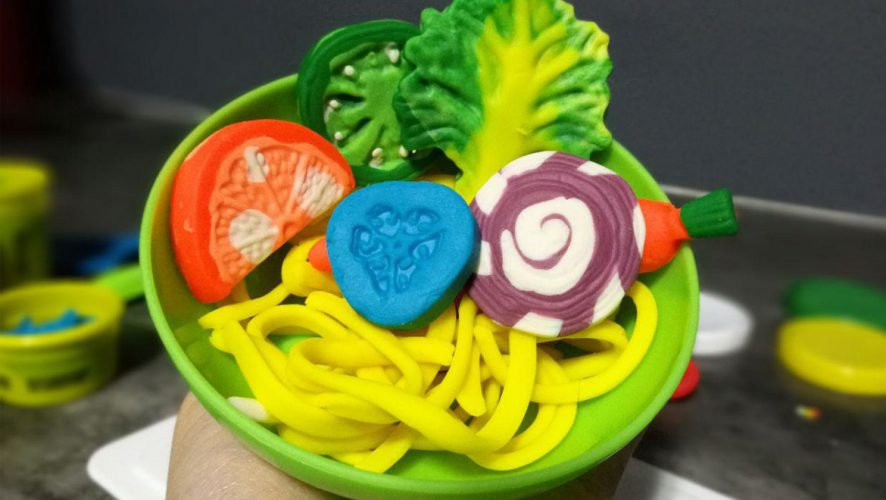
I decided to put my skills to the test with a Vegetable Chow Mein dish. First, I squeezed a bunch of yellow noodles out of the noodle press. Although quite a bit of the Play-Doh got stuck in the plastic, I still managed to turn out a surprisingly legit looking handful of noodles that I chopped into smaller bits with the plastic scissors.
The Shape ‘n Slice set is also pretty vegetarian-friendly. There was a lettuce mold at the base of the green bowl, plus carrots, cucumbers, onions, broccoli and more on the underside of the blue chopping board.
I pressed out some lettuce and a couple of other vegetables, and put it all together. It still didn’t look quite as good as the pictures on the box, but hey, not bad for a first try.

It didn’t taste the best (Play-Doh is really super salty. Don’t eat it!) but overall it was pretty interesting and kept me entertained for a good 45 minutes.
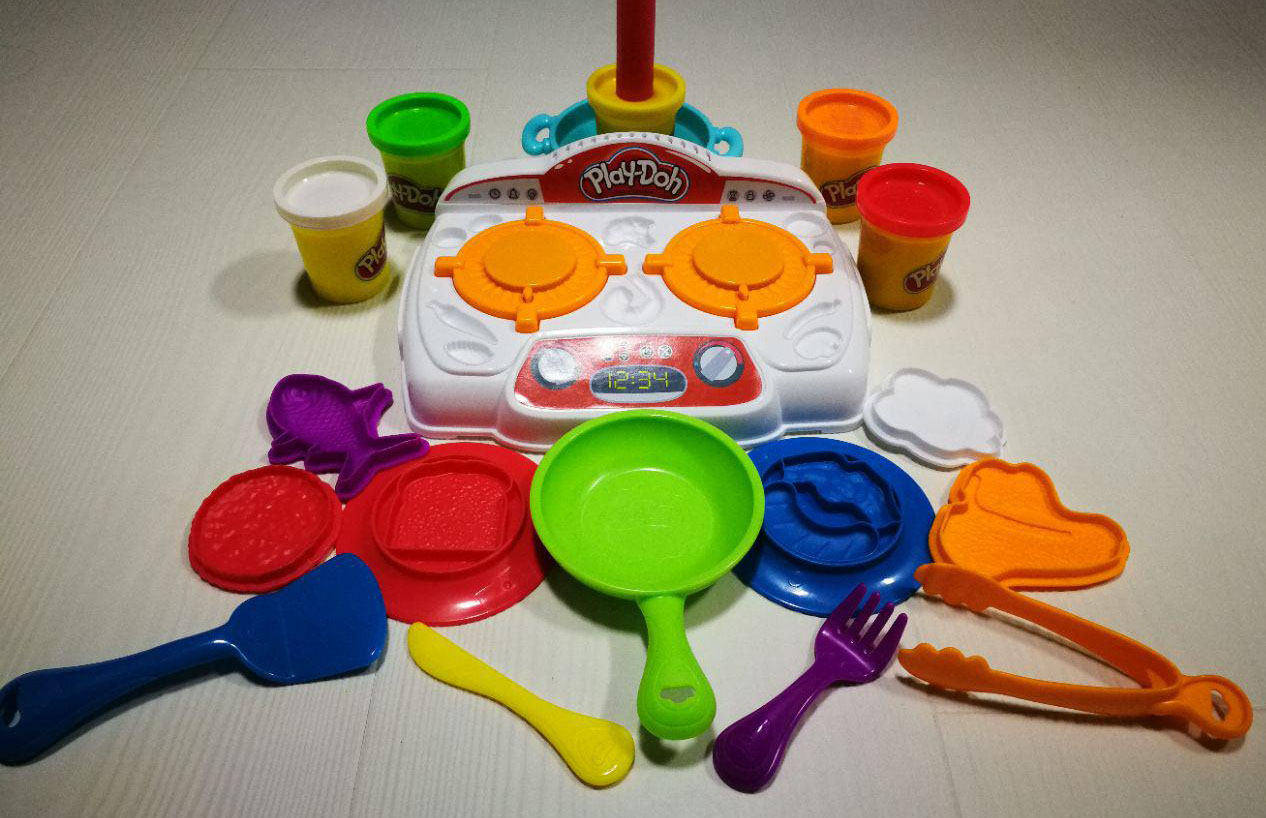
The Sizzle ‘n Serve set is bigger, with a plastic stove, a dozen accessories and five pots of Play-Doh. The selling point of this set is a mini stove with two hobs that makes sizzling noises when a pan is placed on top (this needs 3 AA batteries which are not included).
It looks fancier overall, but I think it’s a little less cleverly packaged than the Shape ‘n Slice. While the first box had plenty of double duty accessories, this one has more single molds, which I think are easier to misplace.
I decided to put together a sandwich, and then fry up some fish and steak. In order to get the brown needed for the patty and the steak, I tried mixing together green and red to get a meaty colour. It was pretty easy – Play-Doh blends well – and the only downside is that you can’t un-blend it later. I also made a rich yellow for the yolk, and a salmon pink for the fish.
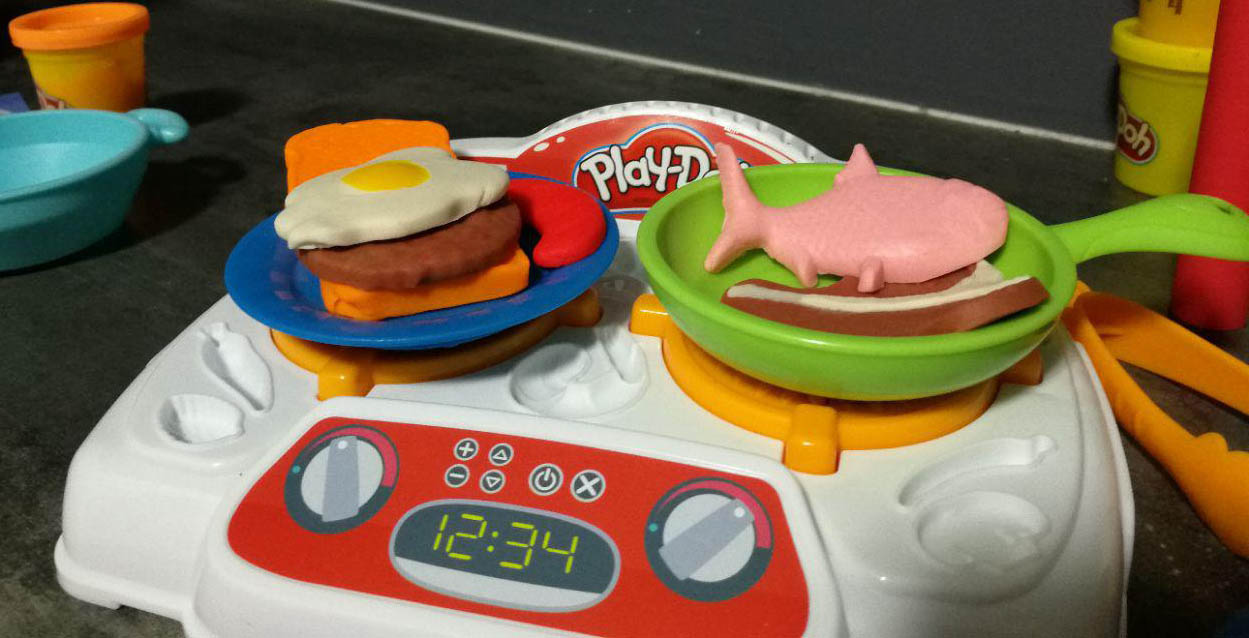
After prepping, I popped everything on the stove to cook it. In order to get it to sizzle, you need to put the plate or pan down on the hob such that it presses a small button at the 6 o’clock position. The noise was fun for five minutes, but after that the novelty kind of wore off. I’m not a kid though, so who knows what they might find fun.
I think overall, the Shape ‘n Slice is a better bet for kitchen greatness if you’re not super insistent on the sizzling sound, just because the accessories do more work.
Also, it’s kind of embarrassing, but putting stuff into a mold isn’t quite as easy as it seems. On the front, the pictures show kids churning out perfect meals, but it takes a bit of trial and error to learn how to do it right.
The first time I put a giant patty of dough into the mold, it just spilled over the sides and all the items came out with a little border over the sides that was difficult to pull off and left my dough with ragged edges. Even when I managed to get everything inside the edges, the the dough got stuck inside the mold and was hard to take out.

After fumbling around for a couple of hours with the sets, here are a couple of tips for any wannabe Play-Doh master:
- Less is more. Put in less Play-Doh than you think will be necessary to fill up the mold, then add on more later. The putty bonds quite easily, so if you pack it in tight enough there won’t be any joining lines.
- The instructions say that you remove Play-Doh from the mold with another piece of Play-Doh, but that never worked for me. I found it a lot easier to use the included fork or knife to gently pry it out.
- The Play-Doh dries up really fast, so if you wanna keep it malleable, keep it somewhere airtight. I made the mistake of leaving everything out overnight and it became rubbery and crumbly. If you want to revive dried putty, the Play-Doh websites suggests adding water bit-by-bit until it becomes usable again.
The trick with Play-Doh is the resistance towards mixing colours. Parents tend to want their kids to stick with the basic colours, but the fun is with mixing them, and seeing how realistic the finished products can be.
Lisabel is a former tech journalist who loves mechanical keyboards, sneakers, capoeira and cheesy puns. She has dreams of being the next Masterchef, but so far all she has produced is a bunch of Play-Doh pasta.